While learning about state-of-the-art software development is important and great, nothing can beat hands-on experience. The challenge is that not everyone works where microservices, containers, and serverless computing technologies are being rolled out. You can now finally get that first-hand knowledge by using the Developer Sandbox for Red Hat OpenShift.
Now that you have your very own cluster at your fingertips, it's time to get something up and running.
Get that cluster
The very first step, if you haven't already done it, is to get over to the Developer Sandbox for Red Hat OpenShift page and get a free OpenShift cluster for yourself. You'll also be joining the Red Hat Developer Program if you aren't already a member, which provides access to some incredible benefits.
Once you've secured your very own cluster, click Start using your sandbox to begin your future as shown in Figure 1.
Build options
In this article, we'll discuss three ways to build and deploy an application to your cluster. They are:
- Build the application from source code
- Build the application from source code and a Dockerfile
- Build the application from a container image
Also, the following programming languages are covered in these examples:
- C#
- Go
- Java
- Node.js
- PHP
- Python
- Ruby
Option 1: Build the application from source code
OpenShift includes a source-to-image build feature known as s2i. This feature allows you to point a build to a Github repository (the cool kids call them repos) and let OpenShift do the rest by downloading the source, building the image, and deploying it. To use s2i, do the following:
- Switch to Developer view (if you need to choose a project, select the project with the "-dev" suffix).
- Select the option to Add a new application.
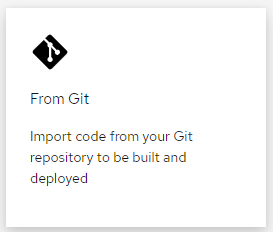
- Select the From Git option as shown in Figure 2.
- Supply the URL and click Create.
Here are some details for the above list:
- You need to supply the URL for a GitHub repo as shown in Figure 3.
- OpenShift will validate the URL and attempt to detect which build engine to use. If it cannot, you'll need to select the proper environment; for example, Java.
Click the "Create" button at the bottom and let OpenShift do the rest.
Here are some URLs you can use for their related languages:
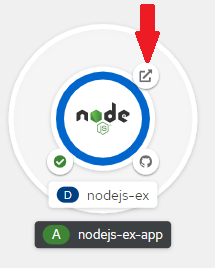
After a few minutes, the ring on your application's icon will switch from light blue to dark blue, which means that it's ready to go. Click the external link image to see your application in a browser, as shown in Figure 4.
What's next? How about you try your own source code? Go on, this is what the sandbox is for—to experiment and learn.
Option 2: Build the application from source code and a Dockerfile
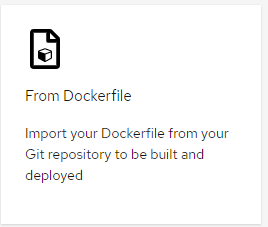
Follow the steps in Option 1, but in Step 3 choose the From Dockerfile option as shown in Figure 5.
In this scenario, you have code in a GitHub repo, and that code also includes the Dockerfile, which is used to build an image from a command-line tool, such as docker or podman. This option gives you much more flexibility in the build process because your file includes specific build instructions. It also allows you to use images that are not included with OpenShift—for example, I could build a .NET 5 application before .NET 5 is available for the From Git option.
Just as in the previous option, you provide the URL to a Git repo. You may need to provide the path to a Dockerfile, but this is typically in the root of the project so the default value should be fine. The only "inside information" you need is the number of the port being exposed. This is from the EXPOSE line in Dockerfile. I often forget to check this and when my application doesn't appear in the browser, this—the wrong port number—is the reason. Remember this.
You can use the other parameters if you wish, and I encourage you to experiment with them as you progress. For now, simply go with the default values and click Create at the bottom. OpenShift will fetch the source code and use the Dockerfile instructions to build your image and deploy the application in your cluster. As before, you can view the application output in a browser by clicking the external link image.
Here are some GitHub repos that you can use to try this option:
- C# (.NET Core)
- Go
- Node.js
- Python
- Your own source code repo that includes a Dockerfile
Option 3: Build the application from a container image
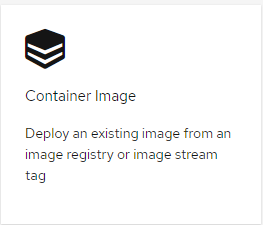
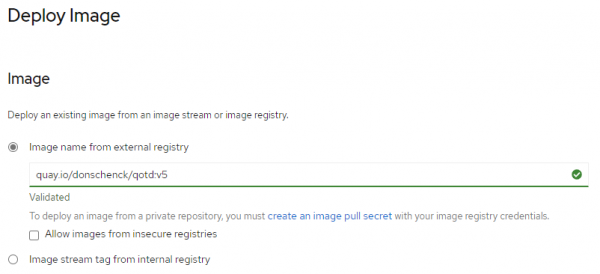
Follow the steps in Option 1, but in Step 3 choose the Container Image option as shown in Figure 6.
This is the option I use 100% of the time. I like to build and test my images on my PC, and then push them to my image registry (quay.io/donschenck). Once an image is hosted in a registry, it's very simple to get it into OpenShift.
Just like the other two options, the simplest path is to provide the location of the input—an image in this case—as shown in Figure 7, and click Create. Yes, it really is that simple.
Is there more?
Yes. Play around. Try things. Break things. Learn. There is a wealth of knowledge within the Red Hat Developer program.
Finally, wouldn't it be cool to automate all of this build stuff? Well, guess what: You can. Check out my forthcoming article and video series about Tekton, the open source image building system. It lets you use your programming skills to automate your own job.
Here's to a bright future.
Last updated: February 3, 2023

